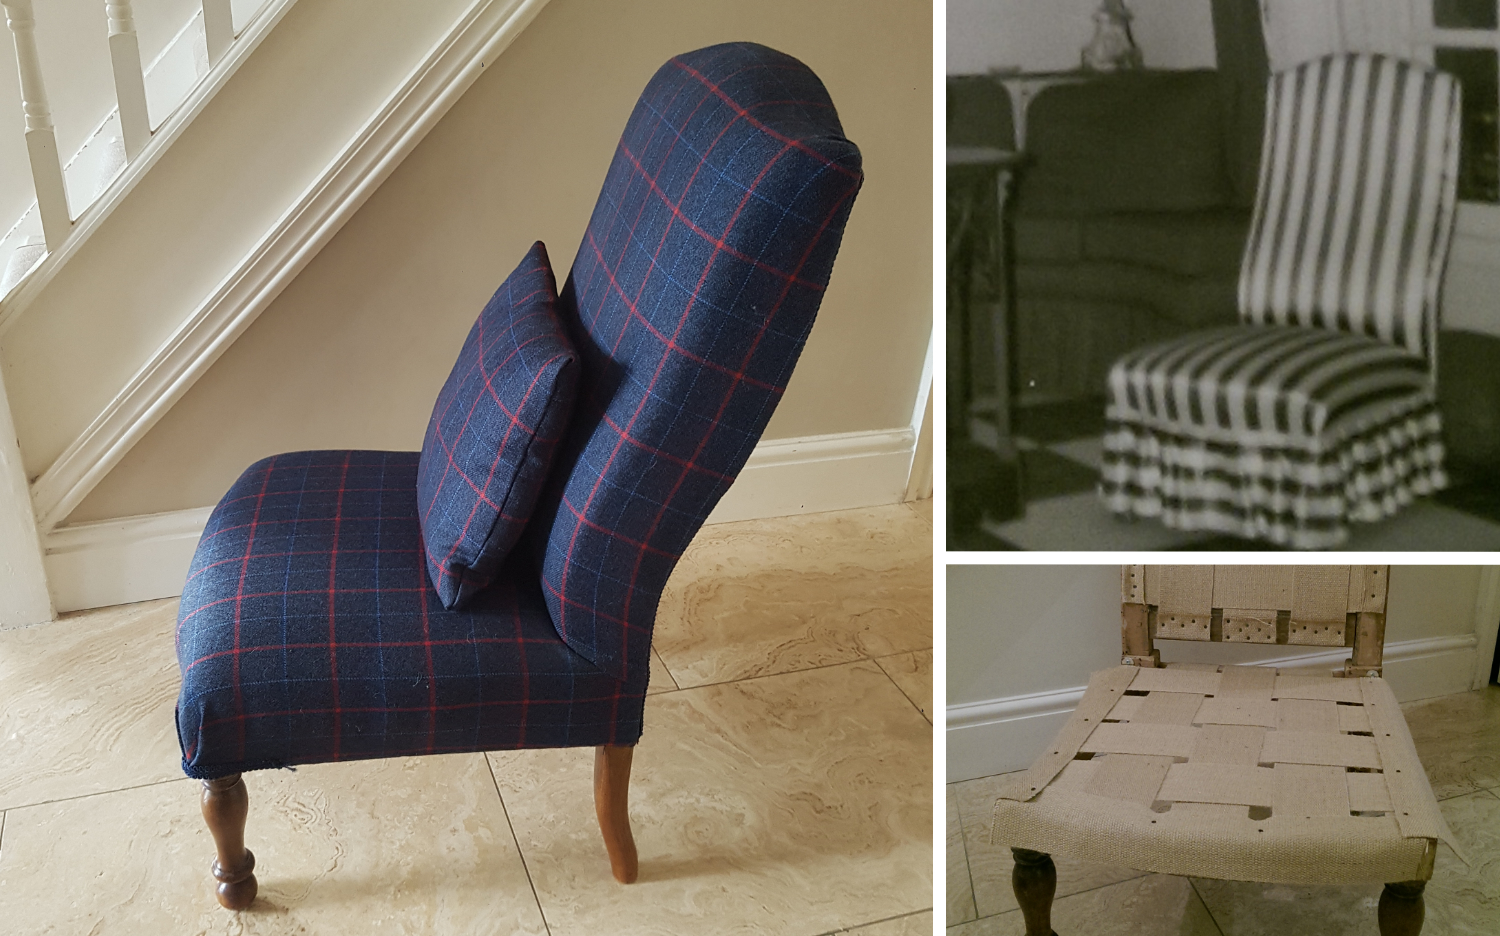
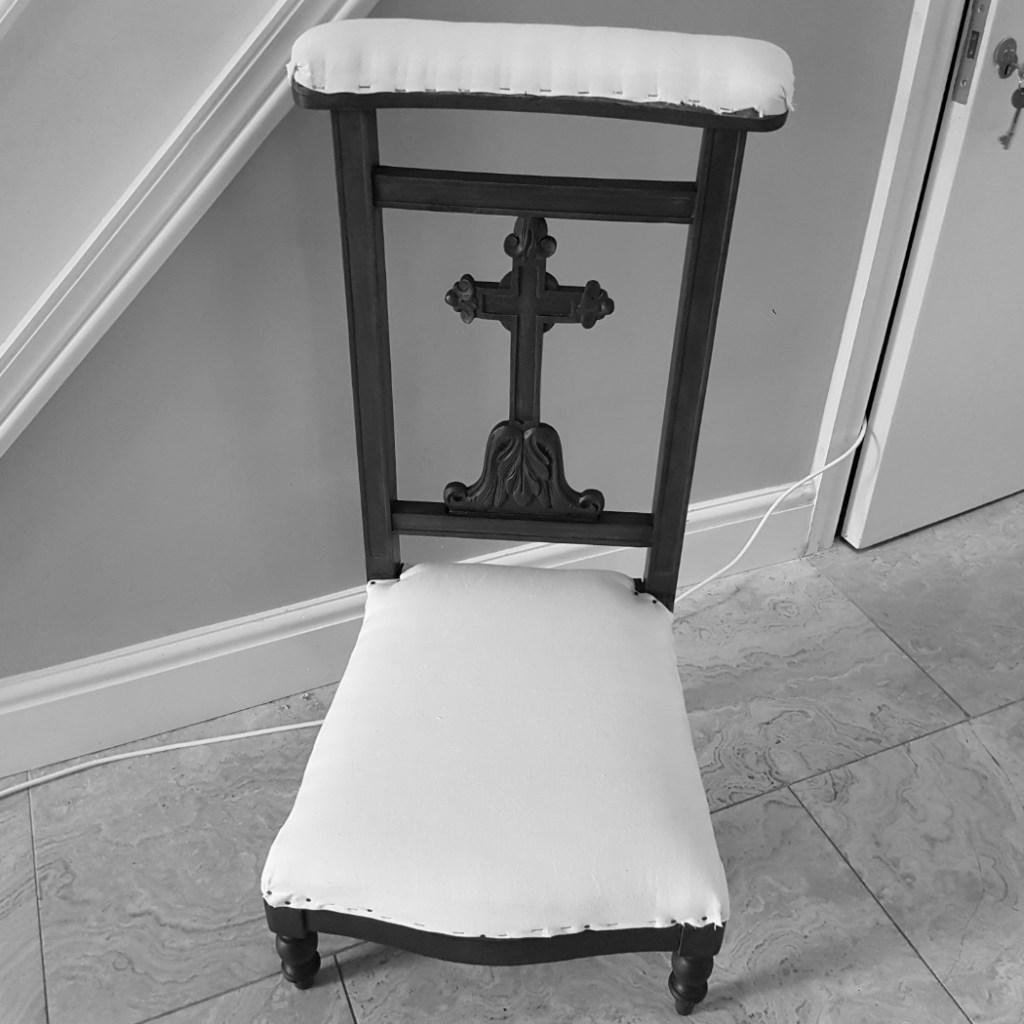
What are the main steps involved when it comes to upholster a chair? You will find out below.
Step 1 | Stripping
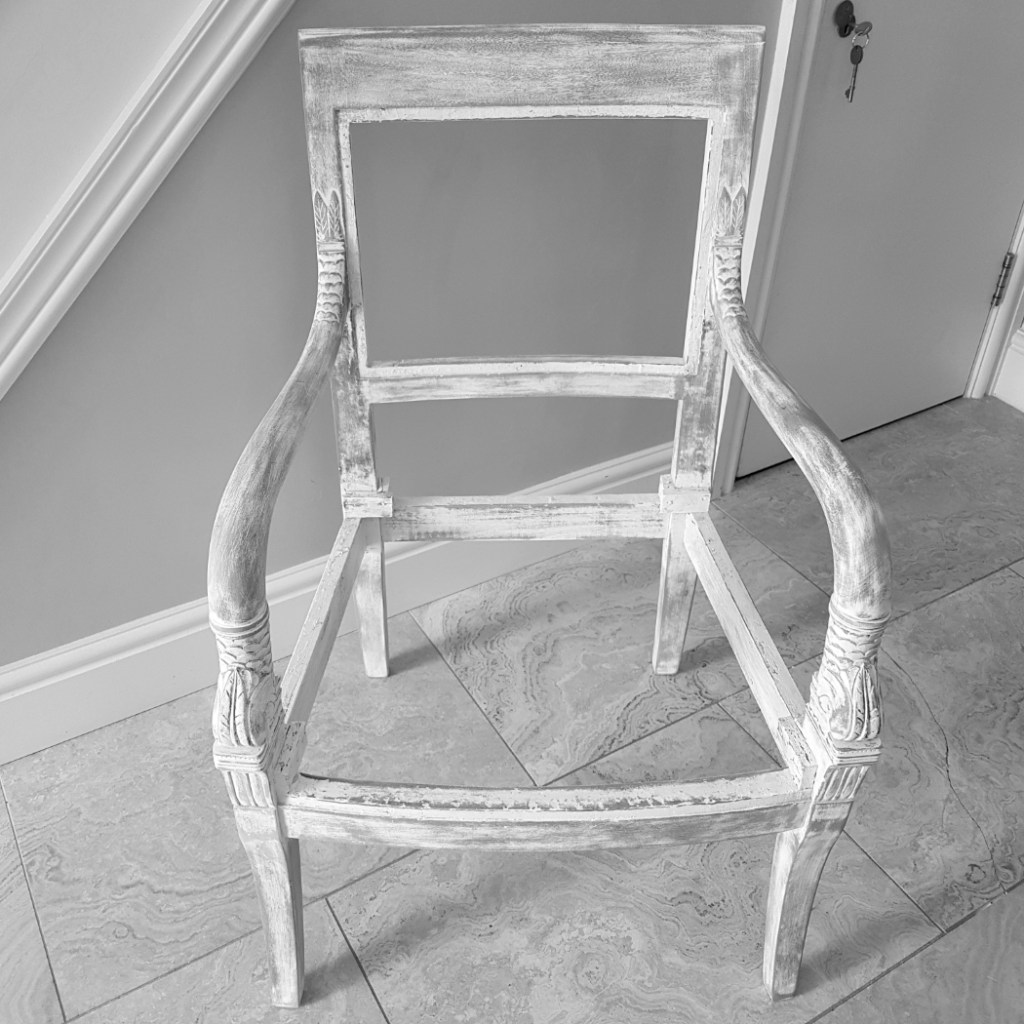
This is the first act of the upholsterer: bare the carcass by removing the fabric and the padding. The duration of the stripping varies according to what is discovered from the state of the chair. This work is sometimes long and tedious because it is necessary to remove all the nails and staples that held the whole of the cover and the trim.
Step 2 | Carcass Repair
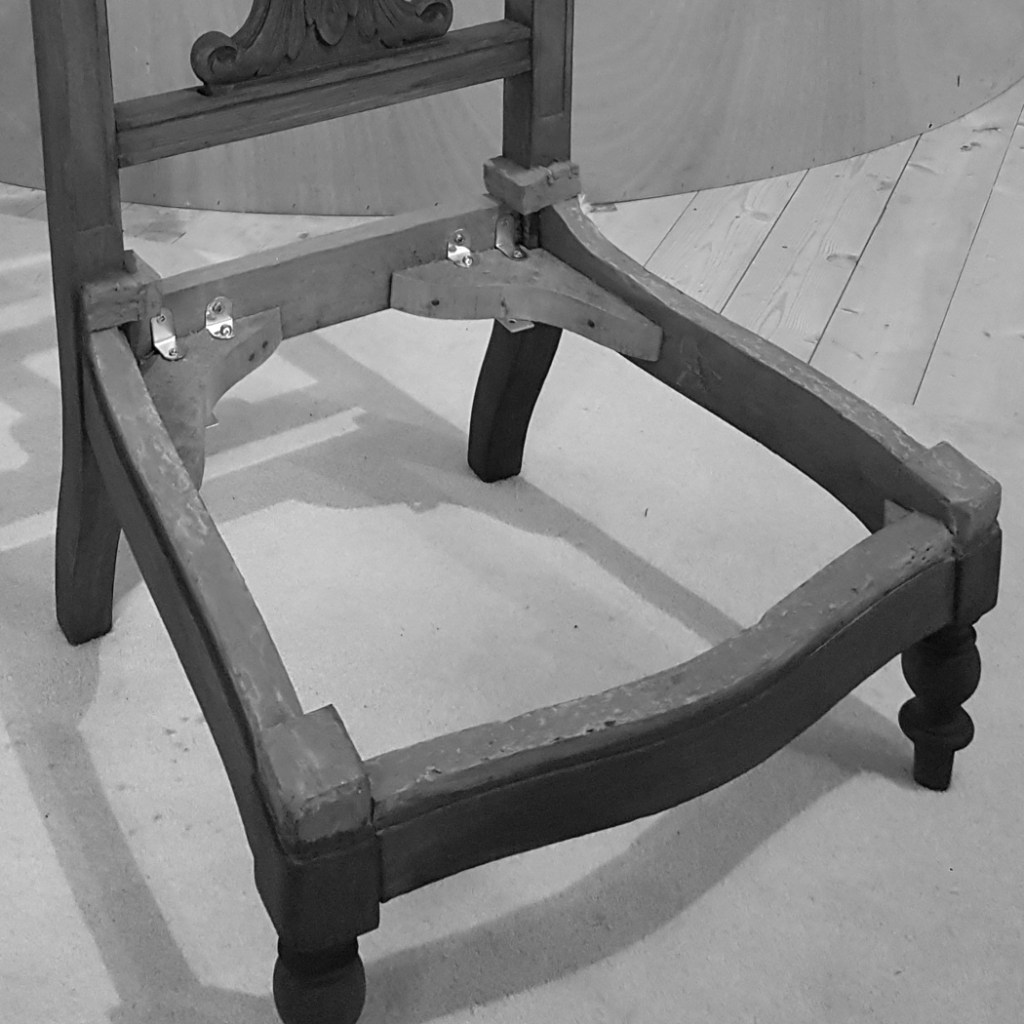
The stripping sometimes holds surprises. Often, the seat is damaged or even rickety. In this case, one needs to perform bonding to strengthen the assemblies. It can also make new wooden cleats, consolidate rebate, etc. For more delicate repairs, a cabinet maker can be called in. It is also at this stage that a you might need to varnish the wood, apply some patina or catch up with colours.
Step 3 | Strapping
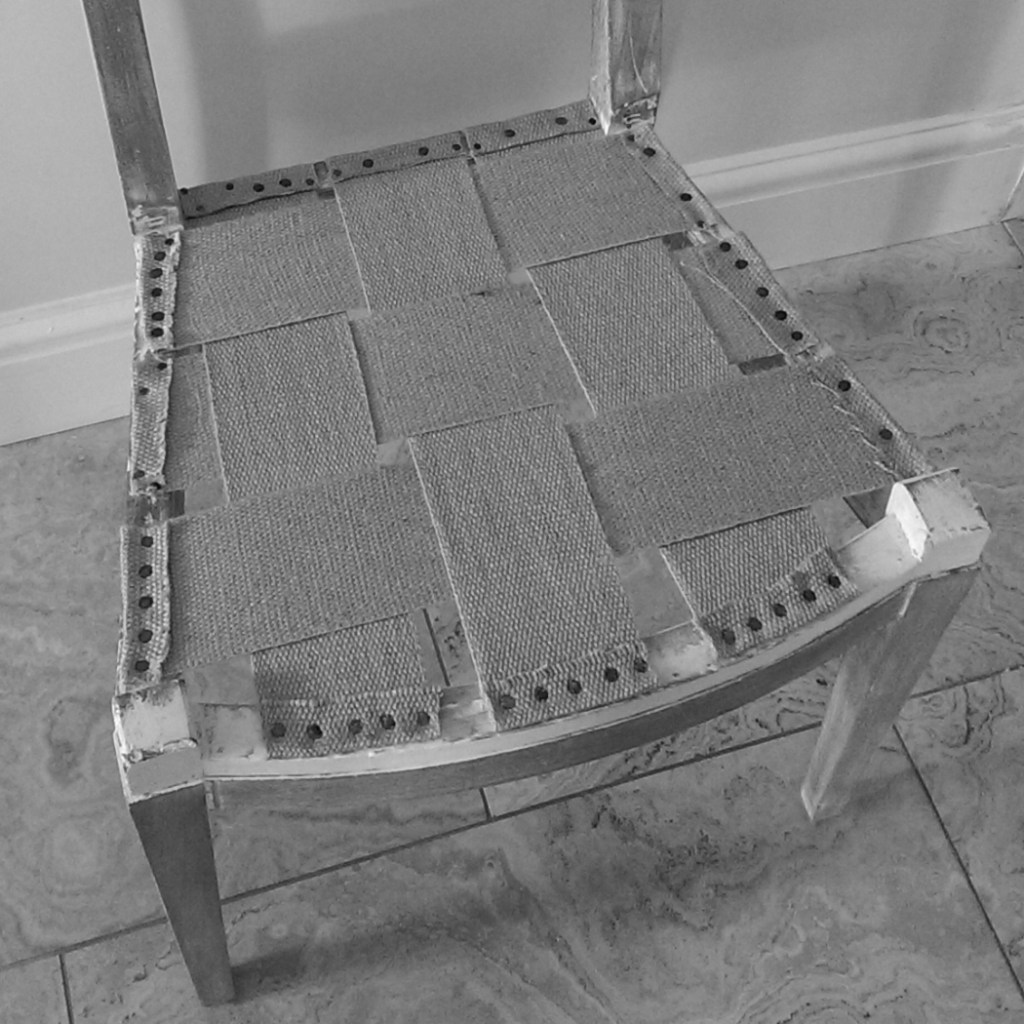
The webbing is the base of the seat. Made with crisscrossed jute straps, this seat base must be tight enough to receive all of the upholstery and support the weight of the seat. This is key moment.
Step 4 | Installing Springs
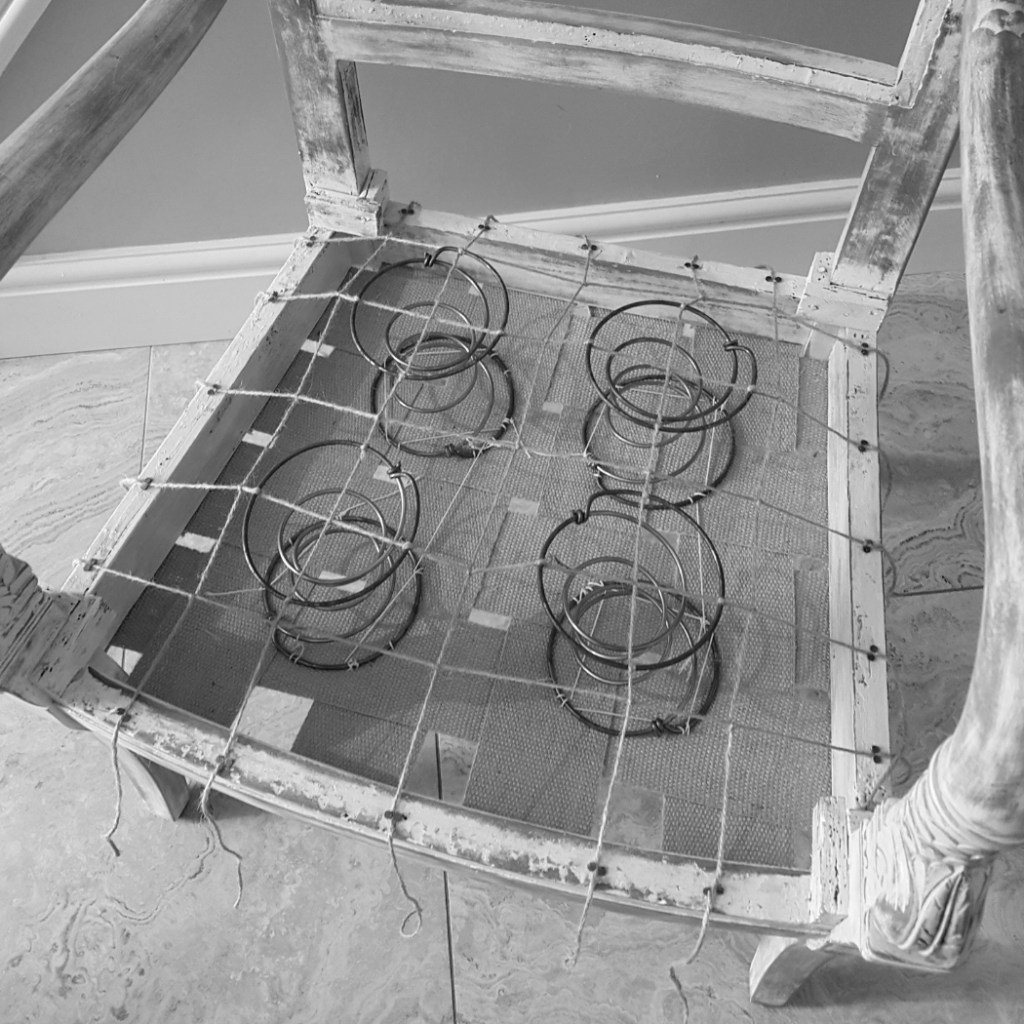
Since 1820, the seating of the seats has been made more flexible thanks to the invention of the spring. Chosen according to the type of seat, they are sewn on the strap and held in place by the luff.
Step 5 | Winding
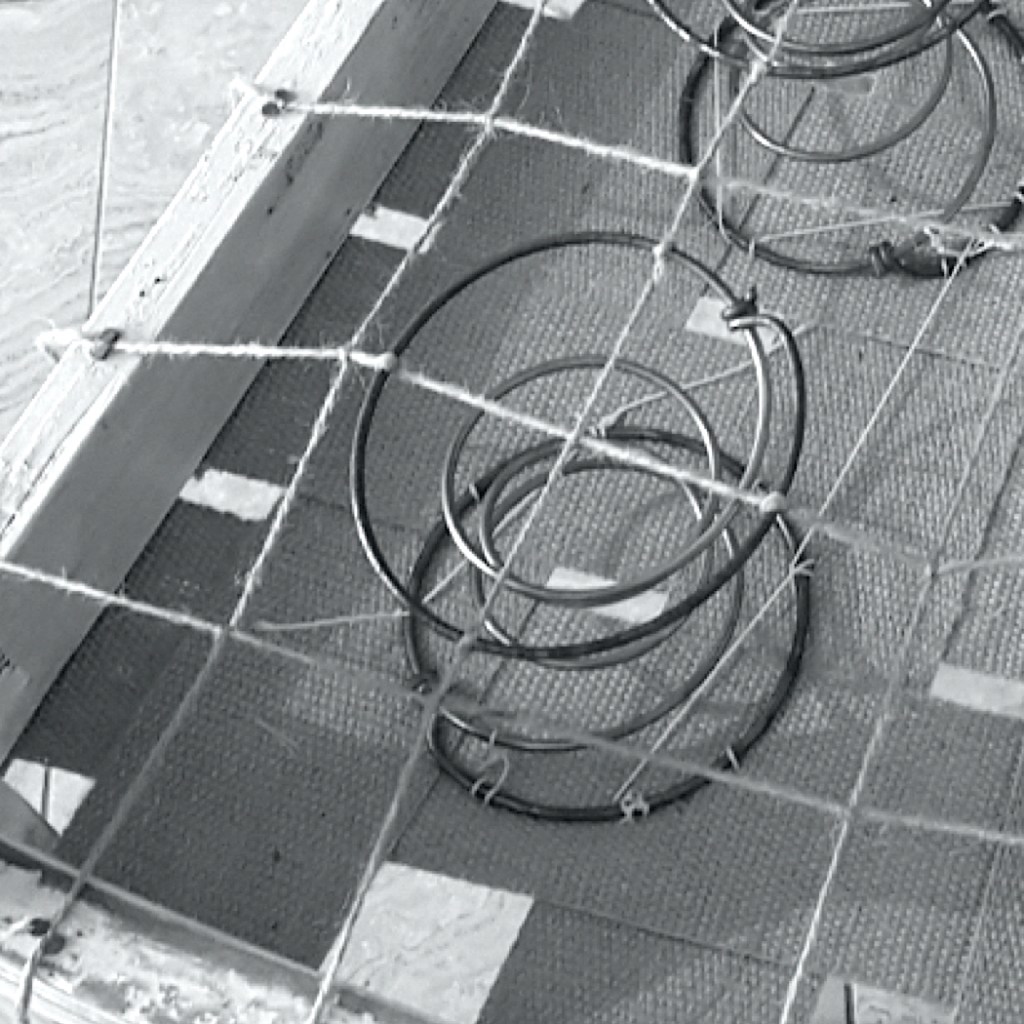
Designed to compress the springs connected to each other using knotted cords, the winding thus provides the firmness necessary for the desired comfort while anticipating the final shape of the seat.
Step 6 | Canvas and Laces

Burlap fabric tightly woven, the strong canvas is nailed to the seat to slightly hold the springs by hooking points. But also to accommodate the horsehair which will be maintained with laces sewn in advance.
Step 7 | Horsehair
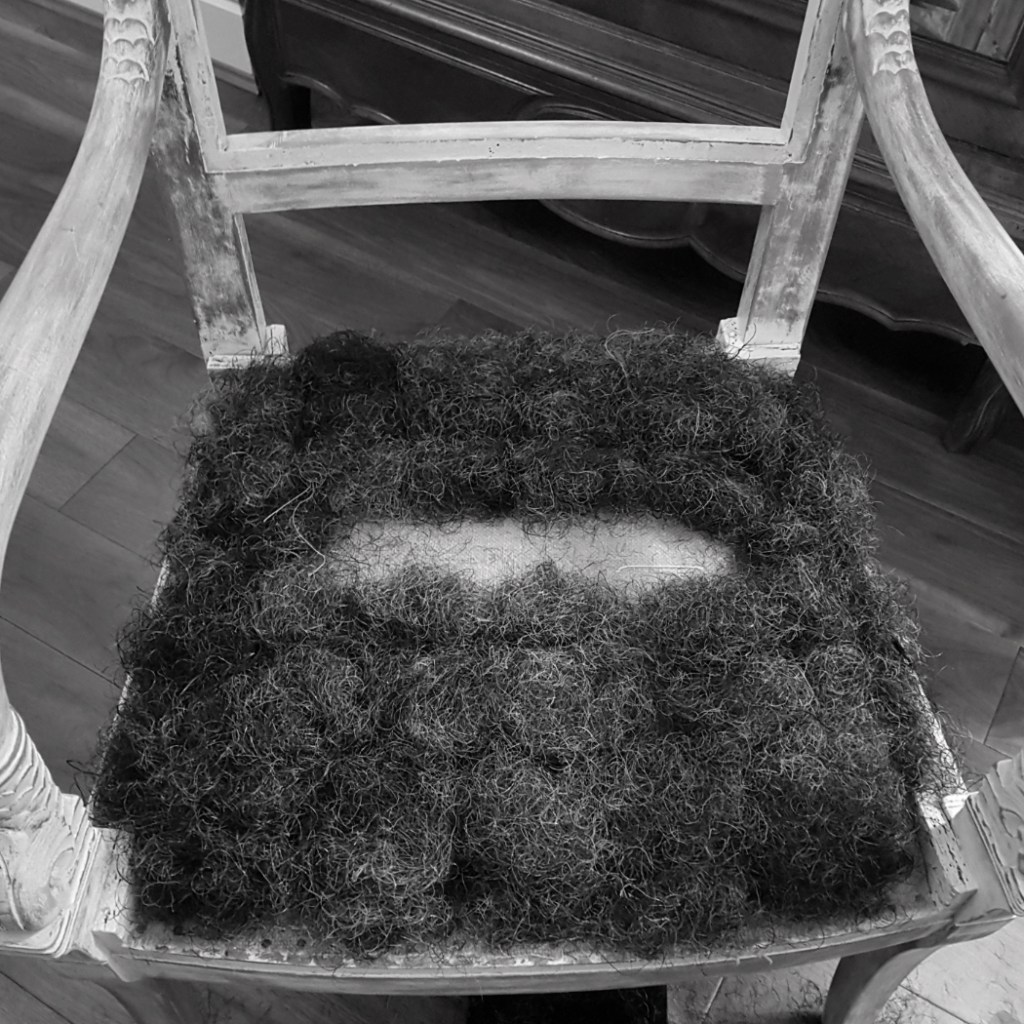
Of animal or vegetable origin, the hair is carded to give it elasticity and suppleness, then slipped under the laces by small handles carefully worked and mixed. It is the shape and size of the seat that will determine the amount of hair required.
Step 8 | Wrapping/Packaging
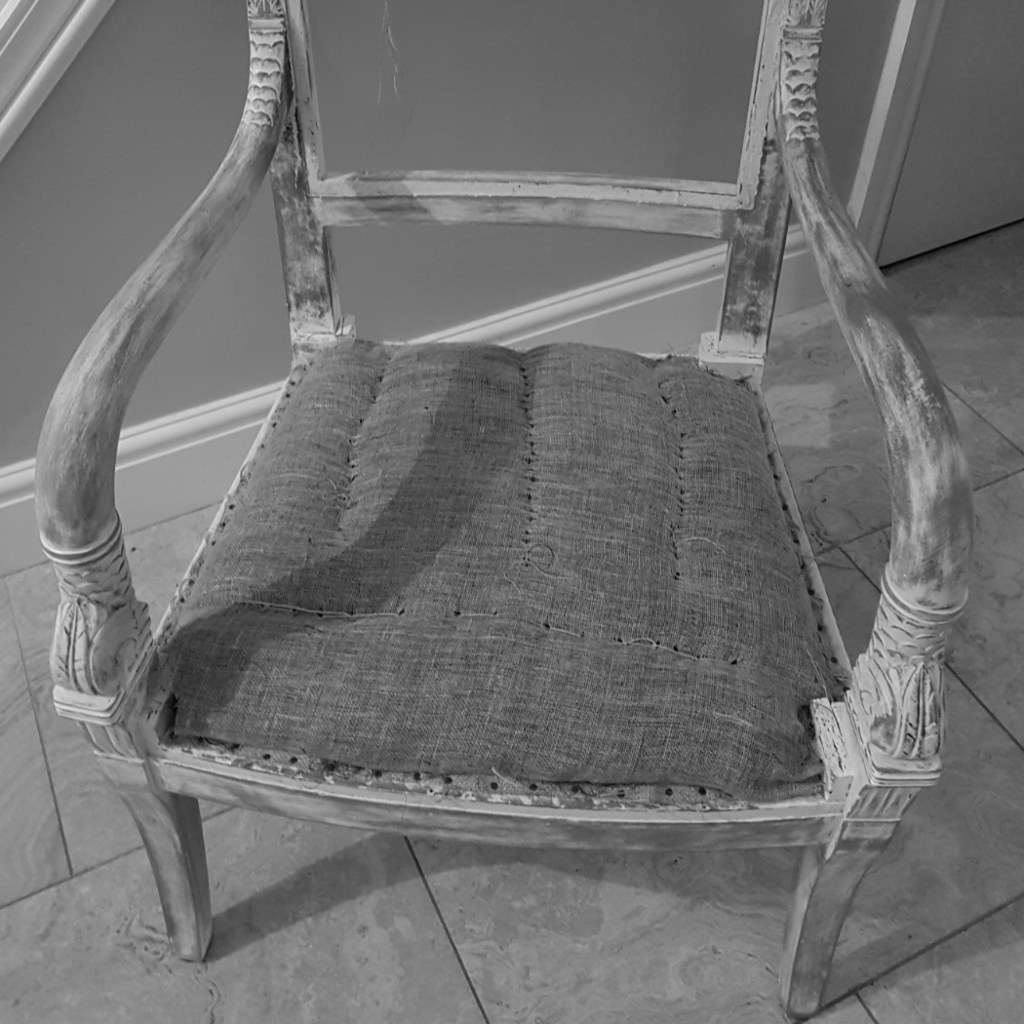
A new so-called upholstery fabric will wrap the horsehair and a phase called packaging will begin to give shape to the seat. A bottom stitch is then made to hold the horsehair in place and form the bottom of the seat cushion.
Step 9 | Off Take

This operation consists in giving its final shape to the upholstery and definitively fixing the upholstery fabric on the crosspieces of the seat. Folding like packaging are delicate steps that predispose the balance and the aesthetics of the seat.
Step 10 | White Lining or Calico
It consists of covering the seat with a solid white cotton canvas to isolate the upholstery from the final fabric. The canvas is maintained at the level of the wooden rebates.
Step 11 | Covering or Blanketing
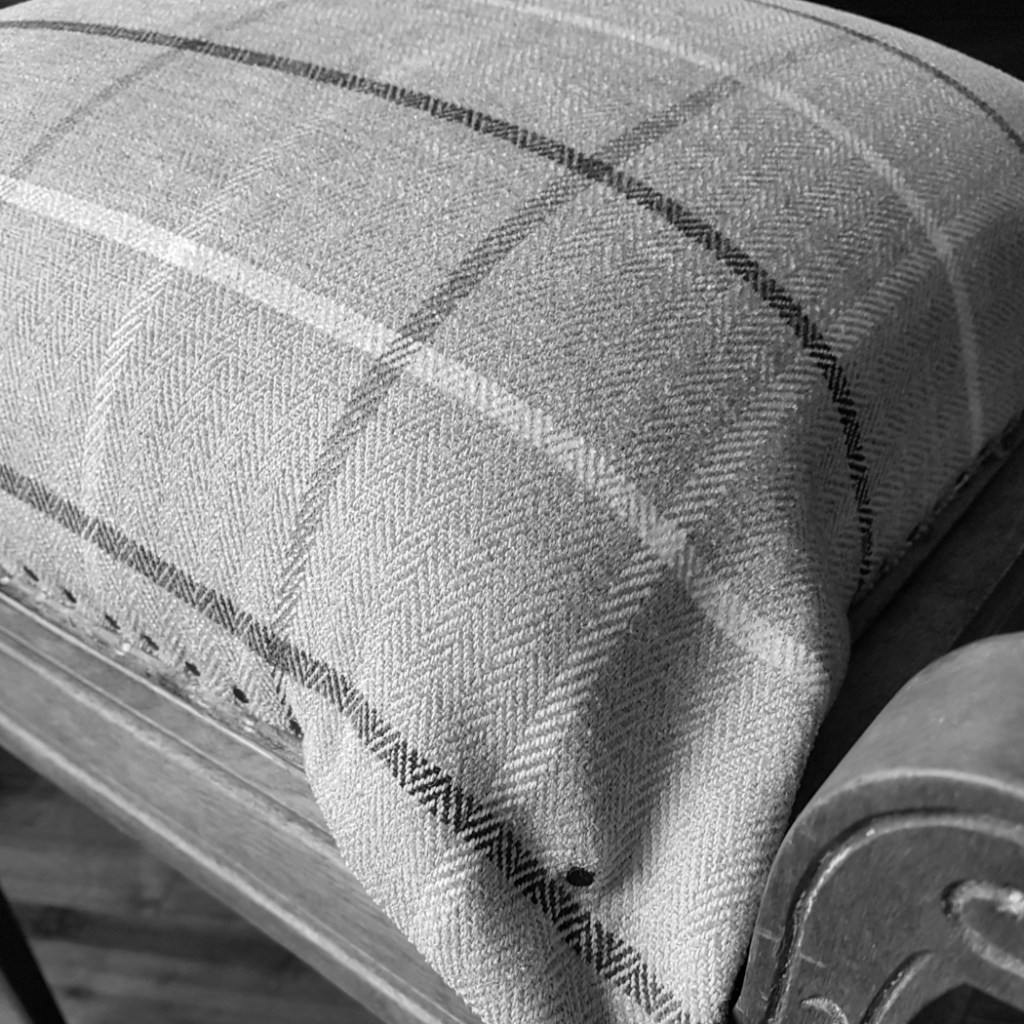
The step of laying the chosen fabric is called blanketing. The implementation is complicated because the fabric must be stretched and placed in a straight manner, especially if it has patterns. But it is also the most pleasant moment for the upholsterer who sees the end of his work.
Step 12 | Finish & Trimming
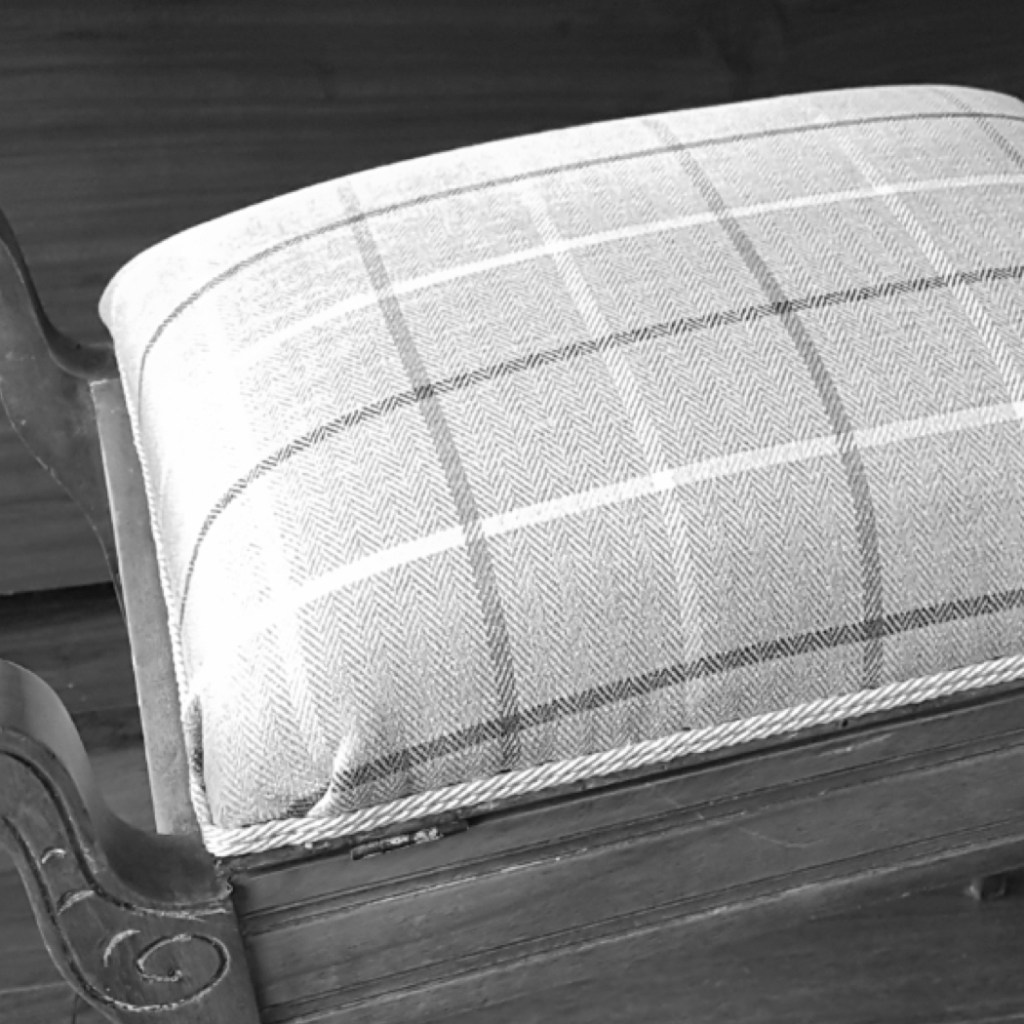
This is the stage where the fabric is enhanced with a braid, a trimming such as a double piping or decorative nails that will hide the seeds or fastening clips that attach it firmly to the seat. It is the final touch that will give the desired style or effect.
Step 13 | Setting up of the Jaconas
The upholsterer covers the bottom of the seat with a cotton canvas called “Jaconas” in order to hide the unattractive webbing and prevent dust from circulating.
It is also the signature of the upholsterer.
FAQs | Terms & Conditions | Copyright 2024 MrUpholstery
